Docusign – Quick Proposal Guide
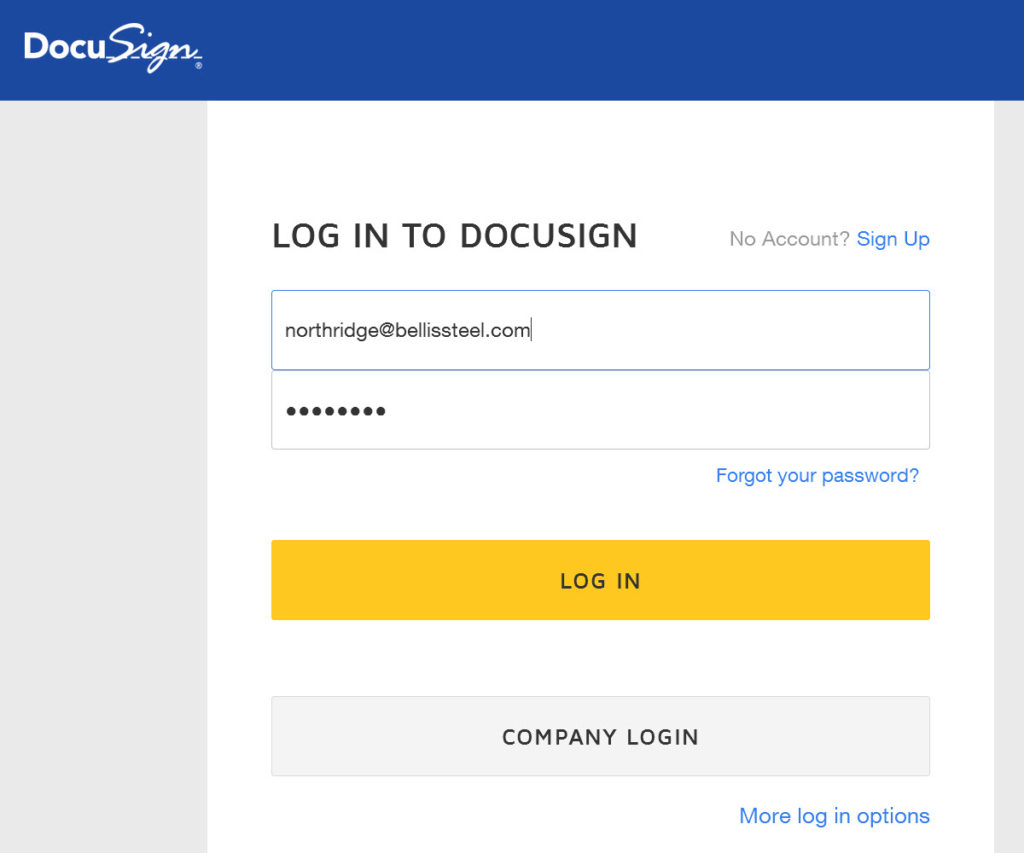
1. Log Into Docusign
2. Click on the "NEW" button and then "Send a Document"

3. Click on the "Upload" button

4. Apply Template
- Click on drop down/expand icon
- Click on “Apply Templates”

5. Select Template
- Click “Quick Proposal” checkbox
- Click on “Update” button

6. Enter Customer Information
- Enter Full Name
- Enter Email Address

7. Build Email Subject & Message Body
- Add “Bellis Steel – ” to the beginning of the subject line. This is important so customer knows that this email is coming from Bellis Steel.
- If you need to make any updates to the email message you can modify the body text.
- Click on “Next” button at the top right when updates are complete.

8. Check Required Fields & Signature Area
- Check to make sure that the template was properly applied. Your screen should look similar to the image below.
- After you have verified the template was properly applied click on the “Send” button at the top right.

And That's It!
The customer will receive an email that looks similar to the image below. Depending on their email program it might look slightly different. They can use either their desktop or smart phone to sign the document.
They DO NOT need to create a Docusign account to use Docusign.
Once the proposal has been signed you will receive an email notifying you it has been completed along with a signed attachment.
